
How to Waterproof Shower Enclosure: Liquid Membrane Guide 2026
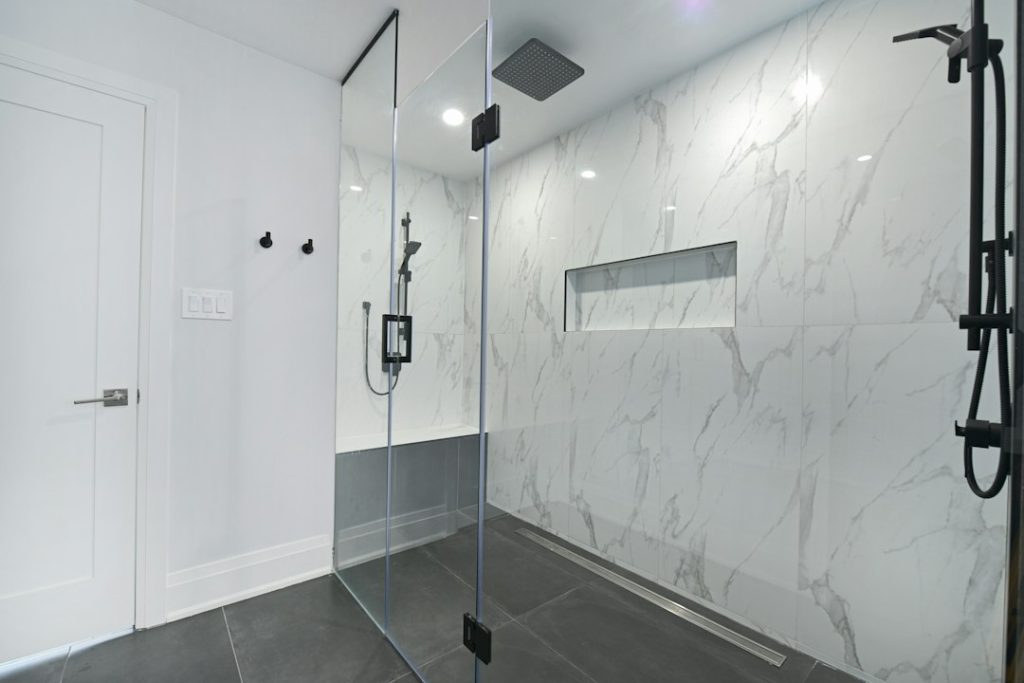
Pre-Tiling Prep: Essential Steps for a Flawless Liquid Membrane Application
Understanding Your Shower Enclosure: Materials and Assessment
Before you even think about membranes, get intimate with your shower enclosure. Is it framed or frameless? What are the existing wall and floor materials? Standard drywall (gypsum board) is common, but cement board or DensShield are superior substrates for wet areas. You need to know this because liquid membranes adhere differently and perform best on specific materials. A quick tap can tell you if drywall is hollow and sound, or if it’s water-damaged and soft—a huge red flag. Any sign of mold, mildew, or existing water damage needs to be addressed *before* you apply a single drop of waterproofing. Failure to do so means you’re just sealing in the problem, guaranteeing a much larger headache down the line.

Essential Tools and Materials Checklist for Liquid Membrane Waterproofing
🧰 Tools & Gear You’ll Need
- Liquid waterproofing membrane (appropriate type and quantity for your shower size)
- Liquid membrane primer (if recommended by the manufacturer)
- High-quality synthetic roller with appropriate nap
- Paintbrushes (various sizes, for corners and details)
- Mixing buckets and stir sticks
- Utility knife and scoring tool
- Caulking gun and appropriate sealant (e.g., silicone or polyurethane)
- Squeegee or notched trowel (for spreading, depending on membrane type)
- Measuring tape
- Safety glasses and gloves
- Appropriate respiratory protection (if ventilation is poor or product requires it)
- Heavy-duty trash bags
- Clean rags
- Backer board (if needed for repairs or substrate replacement)
- Optional: Moisture meter
Surface Preparation Secrets: Ensuring Optimal Adhesion
This is where most DIYers stumble. The liquid membrane needs a clean, sound, and dry surface to bond properly. Think of it like painting – you wouldn’t paint over dirt and grease. First, remove any existing caulk, grout, or adhesive. Scrape, sand, and vacuum thoroughly. Any dust, debris, or loose material will create a weak bond. Fill any cracks or holes in the substrate. If you have drywall, ensure it’s sound. If it’s damaged or looks suspect, replace it with cement board or a specialized tile backer board designed for wet areas. Pay special attention to the corners and the joint between the wall and the floor (the “mud pan” area if you have one). These are critical failure points. Some manufacturers recommend a specific primer; if yours does, apply it now according to their instructions. A properly primed surface is crucial for membrane adhesion, especially on porous or problematic substrates.

The Liquid Membrane Application: Step-by-Step Waterproofing Mastery
Choosing the Right Liquid Membrane: Key Considerations for DIYers
Not all liquid membranes are created equal. You’ll find elastomeric, asphalt-based, and cementitious varieties. For DIYers and most tiling applications, an elastomeric, single-component (ready-to-use) membrane is often the best bet. These are typically water-based, low-VOC, and offer excellent flexibility to bridge small cracks. Look for products specifically designed for shower enclosures and wet areas. Check the manufacturer’s instructions regarding application thickness (mil thickness), drying times, and compatibility with your tile adhesive. Some membranes are spray-applied, but for DIY, rolling or brushing is standard. Consider the climate you’re working in; extreme temperatures or humidity can affect application and curing.
Application Technique 1: Rolling for Large Areas
For the main wall and floor surfaces, a roller is your best friend. Load your roller evenly but avoid overloading it, which can lead to drips and inconsistent thickness. Apply the membrane in smooth, even coats. Work in manageable sections. Overlap each roller pass slightly to ensure complete coverage. Think of it like painting a wall, but with a much thicker, stickier material. Apply the first coat, ensuring you cover the entire surface, paying attention to the substrate. Let it dry according to the manufacturer’s instructions – this is critical. Do *not* rush this step.
First Coat Application
Apply the first coat of liquid membrane using a roller on all surfaces to be waterproofed. Ensure even coverage, avoiding thin spots or puddles. Work systematically across the walls and floor.
Application Technique 2: Brushing for Corners and Details
Corners, seams, and around penetrations (like faucet fixtures or drain pipes) are the most vulnerable areas. Here, a brush is essential. Use a high-quality synthetic brush to ‘cut in’ these areas. Apply a generous, even coat, ensuring the membrane fully encapsulates the joint. For seams between boards or where walls meet floors, apply a double layer, essentially embedding a reinforcing fabric (if recommended by the membrane manufacturer) into the wet membrane. This creates a robust, flexible seal that can withstand movement.
Detailing Corners and Seams
Utilize a brush to meticulously apply membrane to all internal and external corners, around fixtures, and along seams. Ensure a thicker, consistent layer in these critical transition zones. If using reinforcing fabric, embed it into the wet membrane now.
Building the Waterproof Barrier: Key Areas to Focus On
The entire shower enclosure needs to be waterproofed, extending at least 6-12 inches up the walls from the floor, or ideally, to the ceiling, especially in the direct spray zone. Pay extreme attention to:
1. Corners: All interior and exterior corners where walls meet.
2. Seams: Joints between backer boards, or between backer board and substrate.
3. Floor-to-Wall Transitions: The critical joint where the shower floor meets the walls.
4. Around Penetrations: Pipe openings, faucet bodies, and shower drain flanges.
5. The Drain: The drain assembly itself and the surrounding area require meticulous attention. Many systems have specific drain flashing details; follow them precisely.
Apply a second coat over the entire surface, especially on these critical areas. This second coat is crucial for achieving the required thickness and ensuring a monolithic, seamless barrier.
Achieving Seamless Coverage: Avoiding Common Application Pitfalls
The goal is a continuous, pinhole-free membrane. Common mistakes include:
* Inconsistent Thickness: Thin spots are weak spots. You can often see through the membrane in areas that are too thin. Use a gauge or mil-thickness card if your product specifies one.
* Skipping Critical Areas: Backer board seams, corners, and penetrations *must* be fully covered.
* Rushing Drying Times: Applying the second coat too soon can trap solvents or moisture, leading to delamination or reduced performance.
* Pinhole Formation: Tiny holes can occur if the substrate isn’t properly prepped or if air is trapped. A second coat, carefully applied, often seals these.
* Over-application: While you want thickness, excessive pooling can lead to uneven curing and potential issues with tile adhesion later.
Second Coat Application & Inspection
Apply the second coat, ensuring complete and uniform coverage, paying extra attention to previously treated critical areas. Visually inspect for any thin spots, missed areas, or potential pinholes.
Curing and Next Steps: Preparing for Tile Installation
Understanding Curing Times: Patience for Perfection
This is non-negotiable. Liquid membranes need time to cure fully. This isn’t just “dry to the touch”; it’s a chemical process where the material solidifies into a waterproof barrier. Curing times vary significantly by product and environmental conditions (temperature, humidity). Check the manufacturer’s data sheet religiously. It might range from 24 hours to several days. Trying to tile over a membrane that hasn’t fully cured is a recipe for disaster, as the tile adhesive can disrupt the membrane, or trapped moisture can cause mold and adhesion failures later.
Post-Application Inspection: Identifying Potential Weak Spots
Once cured, give the membrane a thorough visual inspection. Shine a bright light around. Look for any glossy or darker spots (indicating thinness), uneven texture, or areas that look suspect. Gently run your hand over the surface; it should feel uniformly solid. Flexing or cracking indicates a problem. If you used reinforcing fabric, ensure it’s fully encapsulated and not peeking through.
Preparing the Waterproofed Surface for Tile Adhesives
Most liquid membranes provide an excellent bonding surface for tile adhesives (thin-set mortar or mastic). However, check the manufacturer’s recommendation. Some may require a light scuff sanding for optimal grip, while others are ready to go. Ensure the surface is clean and free of dust before applying your tile adhesive. A clean, fully cured membrane is your ticket to a tile installation that lasts decades.

Troubleshooting Common Liquid Membrane Waterproofing Issues
Addressing Inconsistent Thickness and Coverage
If you spot thin areas after the first coat, simply apply another careful coat of membrane, feathering the edges into the thicker areas. If the issue is widespread, you might need to apply a third coat. If you notice significant pooling, carefully spread it out with your roller or brush before it starts to cure.
Dealing with Bubbles and Pinhole Failures
Small bubbles often pop during application or the second coat. If you see larger bubbles or persistent pinholes after the second coat has dried, you can often repair them. Gently scrape away any loose material, clean the area, and apply a small amount of liquid membrane directly to the affected spot using a brush. Ensure it overlaps the surrounding membrane by at least an inch to create a strong seal.
Repairing Imperfections
Carefully inspect the cured membrane. Address any discovered thin spots, pinholes, or bubbles by spot-applying additional membrane. Ensure repairs are feathered into the surrounding area for a seamless finish.
Repairing Minor Imperfections Before Tiling
The key is to catch these issues during the inspection phase. If you find a spot that just doesn’t look right – maybe a slight rough patch or an area that feels less solid – apply a small amount of membrane over it. Allow this repair coat to cure fully before proceeding with tiling. The goal is a perfectly uniform, robust barrier.
Expert Tips for Long-Term Shower Waterproofing Success
Integrating Waterproofing with Other Bathroom Elements
Your shower membrane is part of a larger system. Ensure your shower drain assembly, curb, and any niches or benches are also waterproofed according to best practices. The membrane should integrate seamlessly with these elements, often overlapping or using specialized flashing details. If you’re installing a new shower base or curb, waterproof it *before* installing the membrane on the walls and floor.
Maintenance Strategies to Extend Your Waterproofing’s Lifespan
While a properly installed liquid membrane should last for decades, basic maintenance helps. Regularly check and re-caulk the expansion joints around the shower enclosure and where the tub meets the wall. Ensure your shower door seals are intact to prevent excessive water from pooling on the floor outside the enclosure. Clean grout lines regularly to prevent mold and mildew, which can eventually compromise the underlying membrane if left unchecked for years. Promptly address any leaks from plumbing fixtures.