
Best Drywall Repair Kits 2026: Fix Dents, Holes & Cracks Fast!
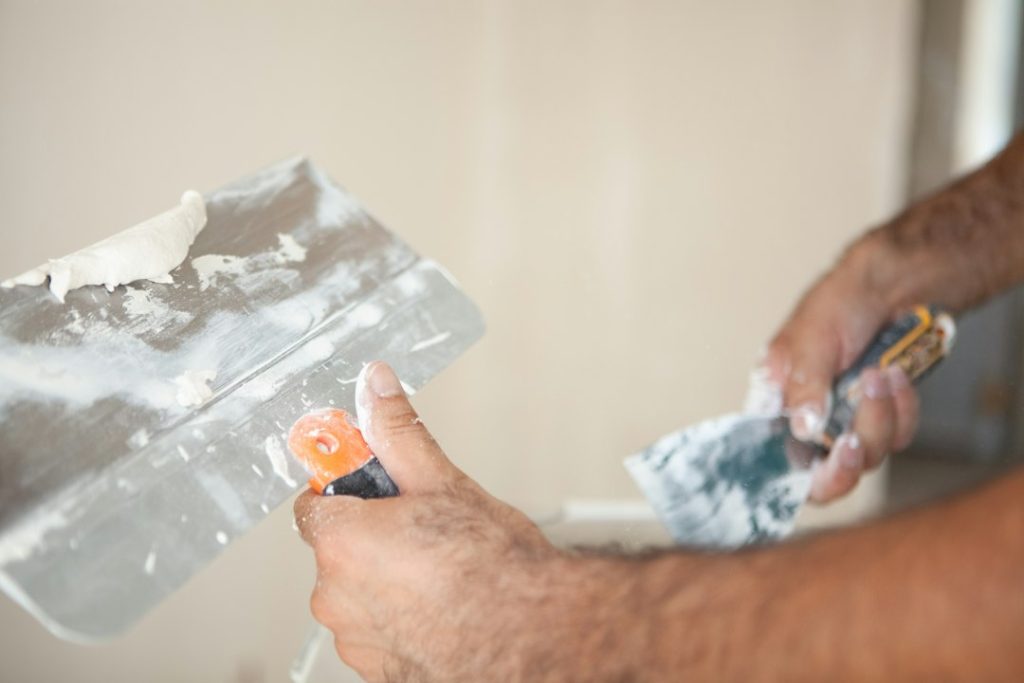
Dealing with minor drywall damage like small dents, doorknob-sized holes, or hairline cracks can be a homeowner’s inevitable headache. While a full drywall replacement is overkill, the wrong repair method can leave you with a visible patch that screams “amateur hour.” Fortunately, a plethora of drywall repair kits exist, designed to simplify these fixes. This guide cuts through the marketing noise to identify the best kits that truly deliver professional-looking results for common household drywall woes.
| Kit Name | Best for | Type | Included Tools | Price Range (USD) |
|---|---|---|---|---|
| USG SHEETROCK Brand All Purpose Drywall Repair Kit | All-in-One Repairs | Patch, compound, putty knife, sandpaper | Yes | $15 – $25 |
| DAP ALEX PLUS All-Purpose Drywall Repair Kit | Large Cracks | Patch, spackle, putty knife | Yes | $12 – $20 |
| Homax Wall Patch and Primer Combo Kit | Small Holes | Self-adhesive mesh patch, spackle, primer | No (spackle knife needed) | $10 – $18 |
| Red Devil Pre-Mixed Spackling Compound with Putty Knife | Value | Spackling compound, putty knife | Yes | $8 – $15 |
| 3M Patch Plus Primer | Ease of Use for Beginners | Patch with integrated primer, spackle | No (spackle knife needed) | $13 – $22 |
Top Picks: Drywall Repair Kits That Deliver Professional Results
Not all drywall repair kits are created equal. Some offer comprehensive solutions, while others excel in specific repair scenarios. We’ve evaluated numerous options based on ease of use, effectiveness, included components, and overall value to bring you our top recommendations.
USG SHEETROCK Brand All Purpose Drywall Repair Kit
⚖️ Patch Size: Varies (often 4×4 inches)
💰 Average Price: $15 – $25
👍 Pros
- Comprehensive kit with all essential tools and materials.
- Includes spackle/joint compound and a sturdy putty knife.
- Sandpaper allows for smooth finishing.
- Suitable for a variety of small to medium repairs.
👎 Cons
- Joint compound can be trickier for absolute beginners than spackle.
- Patch size might be too large for very small dents.
USG is a recognized name in drywall products. This kit typically bundles a self-adhesive mesh patch, a sufficient quantity of pre-mixed joint compound, a flexible putty knife, and a sheet of sandpaper. The inclusion of joint compound offers better durability and sandability for slightly larger or deeper repairs compared to simple spackle. It’s designed for quick fixes where a solid, paintable surface is required.
The USG SHEETROCK All Purpose Drywall Repair Kit stands out as a robust, all-inclusive solution for common drywall imperfections. Its strength lies in providing not just the patch but also the necessary materials to blend it seamlessly. The pre-mixed joint compound is user-friendly for those with a bit of DIY experience, offering a slightly more durable fill than standard spackle. The included putty knife is usually of decent quality, flexible enough for spreading and smoothing without gouging the surrounding drywall. This kit is a go-to for repairs that go beyond a simple pinhole, encompassing small dents and doorknob-sized impacts where a bit more substance is needed. The sandpaper is crucial for achieving that perfectly smooth transition before priming and painting, making it a truly all-purpose solution for the average homeowner.

DAP ALEX PLUS All-Purpose Drywall Repair Kit
⚖️ Patch Type: Self-adhesive mesh
💰 Average Price: $12 – $20
👍 Pros
- Uses a flexible latex spackle that resists cracking.
- Self-adhesive patch is easy to apply.
- Good for filling wider cracks and medium-sized holes.
- Dries quickly for faster repairs.
👎 Cons
- Does not include a putty knife or sandpaper.
- May require multiple thin applications for deeper damage.
DAP is a well-known brand in caulks, sealants, and adhesives. The Alex Plus line typically features a pre-mixed latex spackling compound known for its flexibility and adherence. This kit is often geared towards cracks, utilizing a self-adhesive mesh patch that provides a solid base for the spackle. The latex formulation helps prevent the dried spackle from becoming brittle and prone to shrinking or cracking over time, a common issue with some other fillers. Its quick-drying nature speeds up the repair process, though multiple applications may be necessary for significant damage.
For those tackling more extensive cracks or slightly larger holes than a simple dent, the DAP ALEX PLUS All-Purpose Drywall Repair Kit offers a reliable solution. The core of this kit is its eponymous Alex Plus spackling compound, a latex-fortified formula that offers excellent flexibility. This is key for repairs in areas prone to minor structural shifts, as it helps prevent the repair from cracking later. The kit usually includes a robust self-adhesive mesh patch designed to cover the damaged area and provide a stable surface. While it typically omits tools like a putty knife or sandpaper, its focus on a superior filling compound makes it ideal for covering wider imperfections. Applying thin, even layers of the spackle over the patch, allowing each to dry, is the recommended approach for best results, ensuring a smooth, durable, and crack-resistant finish that blends beautifully once painted.
Homax Wall Patch and Primer Combo Kit
⚖️ Primer: Integrated into spackle or separate coat
💰 Average Price: $10 – $18
👍 Pros
- Built-in primer simplifies the finishing process.
- Self-adhesive patch offers strong adhesion.
- Specifically designed for quick fixes of small holes.
- Reduces the need for separate priming steps.
👎 Cons
- Does not include a putty knife.
- May not be robust enough for deeper dents or larger holes.
- Primer quality can vary; may still need a dedicated primer for perfection.
Homax offers a range of DIY repair products. Their Wall Patch and Primer Combo Kits are engineered for convenience, often featuring a patch with a self-adhesive backing and a spackling compound that incorporates a primer. This dual-action compound aims to seal the patch and provide a uniform surface ready for paint, reducing the overall number of steps. These kits are typically best suited for punch holes or doorknob-sized damage where the material loss is relatively shallow. The effectiveness of the integrated primer depends on the quality of the spackle application and the surrounding surface condition.
The Homax Wall Patch and Primer Combo Kit is a streamlined option for those prioritizing speed and simplicity, particularly for small holes. The innovative inclusion of primer within the spackling compound significantly cuts down on the time and effort required for finishing. This means you can often patch, let it dry, and paint in a single session, provided the repair is minor. The self-adhesive patch provides a secure anchor over the damaged area, preventing further deterioration. While it requires a separate putty knife for application, the kit’s main advantage is the “all-in-one” nature of the filler itself, which primes as it fills. It’s an excellent choice for quick touch-ups where a perfect, invisible repair is less critical than a fast, functional one. For optimal results on slightly larger or deeper holes, ensuring multiple thin coats are applied and sanded smooth is still advisable.

Red Devil Pre-Mixed Spackling Compound with Putty Knife
⚖️ Included Tool: 1.5-inch putty knife
💰 Average Price: $8 – $15
👍 Pros
- Extremely budget-friendly.
- Lightweight compound sands easily.
- Includes a basic putty knife for immediate use.
- Ideal for very small holes, nail pops, and minor blemishes.
👎 Cons
- Compound is lightweight and may shrink in larger applications.
- Putty knife is basic and may not be durable for extensive use.
- Not designed for larger cracks or holes without multiple applications.
Red Devil is a long-standing brand in the home repair market. Their pre-mixed spackling compounds are formulated for ease of use and quick drying. The “lightweight” formulation means it’s less dense, making it easier to spread and sand, but it also implies potential for shrinkage if applied too thickly in larger areas. This type of compound is generally Best for cosmetic repairs – filling tiny nail holes, pinpricks, or very shallow dents where minimal material is needed. The inclusion of a putty knife makes it a convenient grab-and-go option for immediate, small-scale repairs.
For homeowners on a tight budget or those facing only the most minor drywall blemishes, the Red Devil Pre-Mixed Spackling Compound with Putty Knife offers exceptional value. This kit is designed for simplicity and affordability, making it accessible even for novice DIYers. The lightweight spackling compound spreads smoothly and, crucially, sands down with minimal effort, which is a significant advantage for beginners who might otherwise over-sand. The inclusion of a basic putty knife means you can start repairs immediately upon purchase. However, it’s important to manage expectations: this kit is best suited for filling nail holes, small dents, or minor surface imperfections. For anything larger, the lightweight compound may shrink, requiring multiple applications and careful sanding to achieve a flush finish. It’s the perfect, no-fuss solution for keeping your walls looking pristine from minor wear and tear.
Easiest to Use for Beginners: 3M Patch Plus Primer
⚖️ Patch Material: Flexible mesh
💰 Average Price: $13 – $22
👍 Pros
- Extremely simple to apply – just peel and stick.
- Compound and primer are pre-applied.
- Provides a smooth, paint-ready surface quickly.
- Excellent for small to medium holes and cracks.
👎 Cons
- Requires a separate putty knife for smoothing compound.
- Can be slightly more expensive than basic kits.
- May not offer the same depth of fill as separate compound options for larger damage.
3M, a leader in adhesives and materials science, developed this innovative product to simplify drywall repair. The Patch Plus Primer essentially integrates the patch, compound, and primer into a single, easy-to-use unit. The user applies the self-adhesive patch, which already contains a layer of compound and primer, directly over the damaged area. A key feature is its flexibility and conformability to the wall surface. While it simplifies the process drastically, a putty knife is still recommended for smoothing the compound edge to blend with the wall seamlessly. It’s targeted at making DIY repairs accessible with minimal tools and experience.
For the absolute novice facing a drywall ding or hole, the 3M Patch Plus Primer offers an almost foolproof solution. This product redefines ease of use by consolidating multiple repair steps into one efficient patch. You simply peel off the backing, center it over the damage, and press it firmly onto the wall. The integrated compound and primer layer is designed to be smooth and ready for paint after minimal feathering. While you’ll still need a putty knife to gently blend the edges of the compound into the surrounding wall, eliminating the separate steps of applying compound and then primer drastically reduces the complexity and potential for error. This kit is particularly effective for holes up to a few inches in diameter. It’s the kind of product that empowers even the most hesitant DIYer to achieve surprisingly professional results without needing a full set of tools or extensive practice.
How to Choose the Right Drywall Repair Kit for Your Needs
Selecting the correct drywall repair kit involves understanding the nature of the damage, the components typically included, and your own comfort level with DIY tasks.
Assessing the Damage: Dents vs. Holes vs. Cracks
The type and size of the damage are paramount. Dents are typically surface-level indentations, often caused by impact, and may only require a light spackle application. Holes, ranging from small doorknob impacts to larger punctures, require a patch to provide structural support before filling. Cracks, especially hairline ones, can be more challenging as they might indicate underlying movement; kits with flexible fillers are often preferred here. Always assess the depth and width of the damage to choose a kit with appropriate materials and support.

Understanding Kit Components: Patch Types, Spackle, Tools
Drywall repair kits vary significantly in what they offer. Patches can be self-adhesive mesh, metal-reinforced mesh, or even solid panels. Mesh patches are flexible and suitable for most common holes, while metal-reinforced ones offer greater rigidity for larger repairs. Spackle (or joint compound) is the filling material; lightweight spackle is easy to sand but can shrink, while all-purpose joint compound offers more durability but is harder to work with. Some kits include essential tools like putty knives and sandpaper, while others expect you to supply these. Bundled tools can save money but may be lower quality.
Considering Skill Level and Time Commitment
If you’re a DIY novice, opt for kits labeled “easy to use” or those featuring integrated primer or pre-applied compounds, like the 3M Patch Plus Primer. These minimize the number of steps and potential for mistakes. For experienced DIYers, a kit with separate joint compound might offer better control and a more robust repair, even if it requires more effort. Similarly, consider how much time you have. Kits with quick-drying compounds or integrated primers can speed up the process, allowing you to paint sooner.
Step-by-Step Guide: Using Your Drywall Repair Kit Like a Pro
Even the best kit requires proper technique. Follow these steps for a repair that’s virtually invisible.
Preparation: Cleaning and Preparing the Damaged Area
Begin by gently scraping away any loose or crumbling drywall material around the damage using a putty knife. Ensure the area is clean, dry, and free of dust or debris. For cracks, you might need to slightly widen them into a V-shape to allow the filler to penetrate and adhere better. If the area is glossy, lightly sand it to create a better surface for the patch and compound to stick to.
Application: Patching, Spackling, and Smoothing
If your kit includes a self-adhesive patch, center it over the damaged area and press firmly. For kits requiring separate compound application, use a putty knife to spread a thin, even layer of spackle or joint compound over the patch, extending slightly beyond its edges. Feather the edges outwards onto the surrounding wall to create a smooth transition. For deeper holes or cracks, multiple thin applications may be necessary, allowing each layer to dry before applying the next. Aim for a smooth, uniform surface.

Finishing: Sanding, Priming, and Painting
Once the compound is completely dry (check product instructions – this can take anywhere from minutes to hours), use fine-grit sandpaper (120-220 grit) to lightly sand the repaired area until it is smooth and level with the surrounding wall. Avoid over-sanding, which can create dips. Wipe away all dust with a damp cloth. Apply a coat of primer over the entire repaired area; this is crucial for ensuring the paint adheres evenly and the repair doesn’t show through. Once the primer is dry, paint the area to match the rest of the wall.
Common Drywall Repair Pitfalls and How to Avoid Them
Even with a good kit, mistakes can happen. Understanding common issues can help you sidestep them.
Over-Sanding or Under-Sanding
Over-sanding can create a concave depression where the repair sits, making it obvious once painted. Under-sanding leaves a ridge or rough texture that will be visible under paint. Use light pressure and a sanding block for evenness, and frequently check the texture by touch and sight. Stop as soon as the area feels perfectly smooth and level with the wall.
Improper Patch Adhesion
If a patch doesn’t stick well, the repair will be weak and prone to failure. Ensure the wall surface is clean and dry before applying self-adhesive patches. For non-adhesive patches, ensure adequate compound is used to secure them. Pressing firmly and ensuring the patch lies flat without wrinkles are key.
Visible Repair Lines After Painting
This is often due to inadequate feathering of the compound edges, insufficient priming, or painting over an uneven surface. Always feather the compound thinly out onto the existing wall. Use a good quality primer that seals the porous repair material. Ensure the sanded area is completely dust-free before painting.
FAQ: Your Drywall Repair Kit Questions Answered
How long do drywall repairs typically last?
When done correctly with appropriate materials, drywall repairs for small dents, holes, and cracks can last indefinitely, blending seamlessly with the wall and enduring normal household conditions. Longevity is primarily dependent on the quality of the application and the stability of the surrounding wall structure.
Can I use a drywall repair kit for larger holes?
Most kits are designed for small to medium-sized repairs (typically up to 4-6 inches). For larger holes, you’ll likely need a larger patch (like a drywall patch panel or a piece of new drywall) and potentially joint compound rather than simple spackle, along with more advanced techniques. Some heavy-duty kits might handle slightly larger issues, but always check the product specifications.
What’s the difference between spackle and joint compound?
Spackle is typically a lightweight, pre-mixed filler designed for small cosmetic repairs. It dries quickly and sands easily, making it user-friendly for beginners. However, it can shrink and crack in larger applications. Joint compound (or “mud”) is a heavier, more durable material, often sold in powder form that you mix with water or as a pre-mixed version. It’s used for taping drywall seams and filling larger holes, offering greater strength and less shrinkage but requiring more effort to sand. All-purpose joint compounds offer a balance.