
DIY Kitchen Cabinet Painting: The Proven 6-Step Method for a Factory Finish
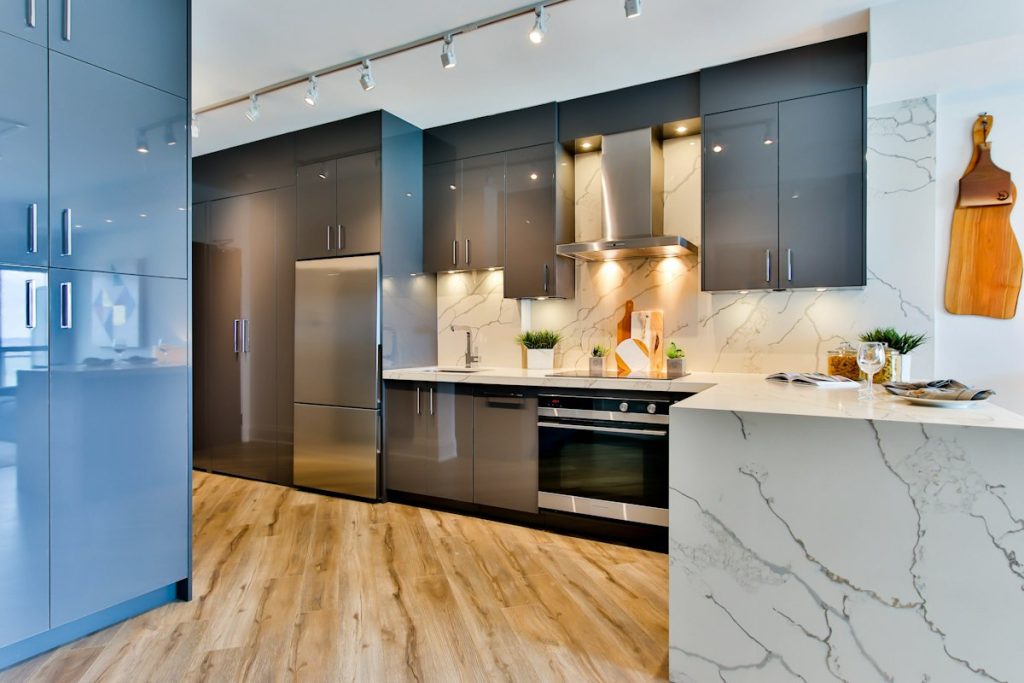
A full kitchen remodel is often the single most expensive renovation a homeowner will face. In many older homes, the solid wood cabinet boxes are structurally sound, but the finish is dated honey oak or yellowed lacquer. Refinishing them yourself saves thousands of dollars, provided you respect the chemistry of paint adhesion.
Project Breakdown
- Total Time: 4 to 6 days (including curing stages)
- Estimated DIY Cost: $200 to $350 (versus $8,000 – $15,000 for new cabinetry)
- Recommended Products: Trisodium Phosphate (TSP) substitute, 150/220-grit sandpaper, Shellac-based or bonding primer (e.g., BIN or Insl-X Stix), waterborne alkyd enamel (e.g., Benjamin Moore Advance or Sherwin-Williams Emerald Urethane).
Step 1: Systematic Labeling and Teardown
Do not assume that all cabinet doors and hinges are identical. Over time, wood hinges settle into their unique frames. If you mix them up, re-hanging will become an alignment nightmare.
Use blue painter’s tape to assign a coordinate to every door and drawer front (e.g., U1 for upper left, B1 for base left). Write the corresponding number inside the hinge cup on the door and inside the cabinet carcass. Store all hinge screws in labeled ziplock bags.
Step 2: Aggressive Degreasing (The Foundation of Adhesion)
Decades of airborne cooking oils, butter splatter, and hand grease accumulate on kitchen doors. Paint cannot stick to oil. Sanding greasy wood simply grinds the oil deeper into the wood grain.
Wash every square inch thoroughly with a sponge soaked in TSP substitute or a heavy-duty citrus degreaser. Scrub the crevices around raised panel profiles with an old toothbrush. Rinse thoroughly with clean warm water and let dry completely.
Step 3: Scuff Sanding (Do Not Sand to Bare Wood)
You do not need to strip the existing finish down to raw bare timber. You only need to create mechanical tooth for your primer. Using a 150-grit sanding sponge or random orbital sander, lightly scuff all surfaces until the gloss sheen becomes dull and hazy. Vacuum thoroughly and wipe down with a tack cloth to remove all microscopic dust particles.
Step 4: Choosing the Right Primer
Warning on Oak Tannins: If you are painting oak or cherry cabinets white or light gray, standard latex primer will fail. The natural wood tannins will bleed through as pinkish-yellow stains within weeks. You MUST use a shellac-based primer or a high-performance stain-blocking bonding primer.
Apply one thin, even coat of primer. Allow it to dry for 2 hours, then lightly sand with 220-grit sandpaper to knock down any raised wood grain before applying the topcoat.
Step 5: Paint Selection and Application Technique
Avoid standard latex wall paint on cabinets. Cabinets undergo frequent handling, cleaning, and impacts. Use a waterborne alkyd enamel or urethane-modified acrylic. These modern paints provide the easy water cleanup of latex, but flow out smooth like old-school oil paint and cure to a hard, chip-resistant enamel finish.
Apply two light coats using a 4-inch high-density microfiber or mohair mini roller for flat areas, and a quality 2-inch synthetic angled sash brush for detailed trim profiles. Always lay down paint in the direction of the wood grain.
Step 6: The Golden Rule of Curing Time
Dry Time vs. Cure Time: Modern enamel paints feel ‘dry to the touch’ in 4 hours, but they take 14 to 30 days to reach maximum chemical hardness (cure). Rehang your doors carefully after 48 hours, install clear silicone cabinet bumper pads, and handle the surfaces gently during the first month.