
Luxury Vinyl Plank (LVP) Installation: Subfloor Prep, Expansion Gaps & Layout
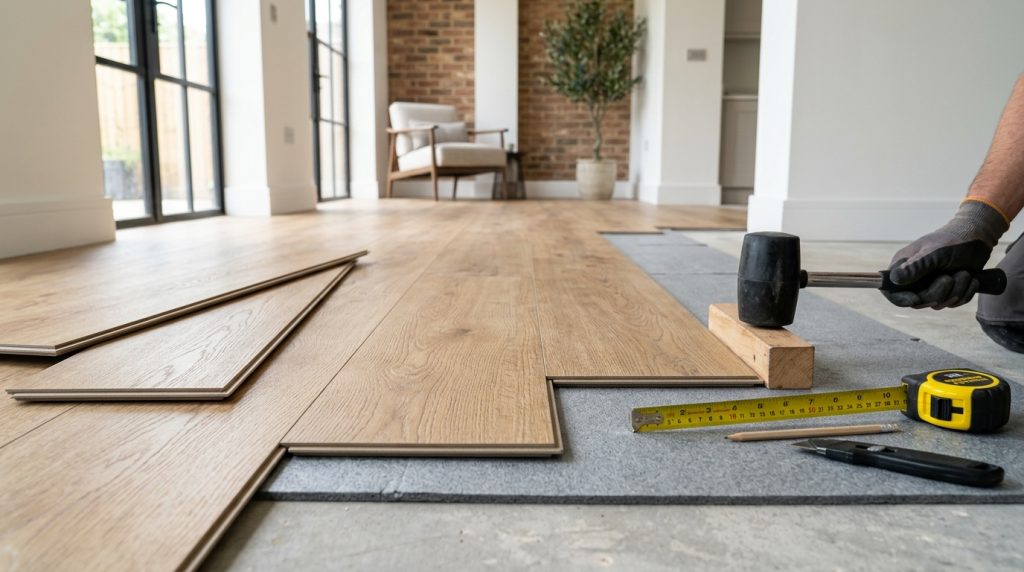
Click-lock Luxury Vinyl Plank (LVP) and Rigid Core (SPC) flooring have taken over modern home renovations. They provide the warm visual texture of natural hardwood combined with 100% waterproof performance. However, because vinyl planks ‘float’ above the subfloor without glue or nails, improper preparation will lead to separated seams, hollow sounds, and seasonal buckling.
Core Installation Specifications
- Subfloor Flatness Tolerance: Max 3/16-inch variation over a 10-foot radius.
- Perimeter Expansion Gap: 1/4-inch to 3/8-inch continuous spacing along all walls and vertical obstacles.
- End-Joint Stagger: Minimum 8 to 12 inches between adjacent seams.
- Essential Tools: Utility knife, flooring pull bar, tapping block, dead-blow rubber mallet, 1/4-inch spacers, undercut jamb saw.
Step 1: The Critical Subfloor Check
The number one reason vinyl plank joints crack or separate is an uneven subfloor. Lay an 8-foot or 10-foot straightedge (or level) across the room. Shine a flashlight behind the edge.
If you see gaps exceeding 3/16 inch, the low spots must be filled with a self-leveling underlayment or cementitious floor patch. High spots in plywood subfloors must be sanded flat with an edger or belt sander. Never install rigid planks over humps or valleys, as walking traffic will flex the delicate click-locking tongue until it snaps.
Step 2: Undercutting Door Casings
Do not attempt to cut complex curved shapes in your vinyl planks to fit around door frames. Instead, place an off-cut piece of flooring (and underlayment if separate) against the door trim. Rest a flush-cut pull saw or oscillating multi-tool flat on top of the scrap plank and saw through the wood casing.
Slide the new floorboard underneath the undercut trim. This creates an elegant, professional transition where the expansion gap remains hidden beneath the wood casing.
Step 3: Calculating Row Width and Layout
Measure the total width of the room from wall to wall. Divide by the plank width to determine how wide your final row will be. If your math reveals that the last row will be a sliver narrower than 2 inches, rip your first starter row down by an inch or two to balance the room visually.
Step 4: The 1/4-Inch Expansion Perimeter
Why Floors Buckle: Even though vinyl is 100% waterproof, it expands and contracts significantly with ambient temperature changes. If the flooring is pinned tight against baseboards or door jambs, summer heat will cause the planks to heave upwards in tented ridges. Place plastic spacers every 12 inches along every perimeter wall.
Step 5: Clicking and Tapping the Planks
Start in the left corner of the longest exterior wall with the tongue side facing the wall. When locking adjacent planks:
- Angle the short end of the new plank into the previous plank at roughly a 30-degree angle.
- Lower the plank flat.
- For long side connections, place your dedicated tapping block against the plank edge and strike lightly with a rubber mallet until the seam disappears. Never hit the vinyl edge directly with a hammer.
Finish by removing all spacers and installing 1/2-inch baseboards or quarter-round molding nailed into the wall (never into the floating floor) to conceal the expansion gap.